The downloaded PDF files can be edited using a PDF editor. The recommended program is Adobe Acrobat. This allows for images and copy to be modified and re-saved.
Please note, Adobe Acrobat is different from Adobe Reader. Reader does not allow files to be edited and saved.
These template designs use fonts that may not be already installed on your computer. Fonts are available here as a zip file. Please install prior to editing PDF so the main text sections remain within the company branding.
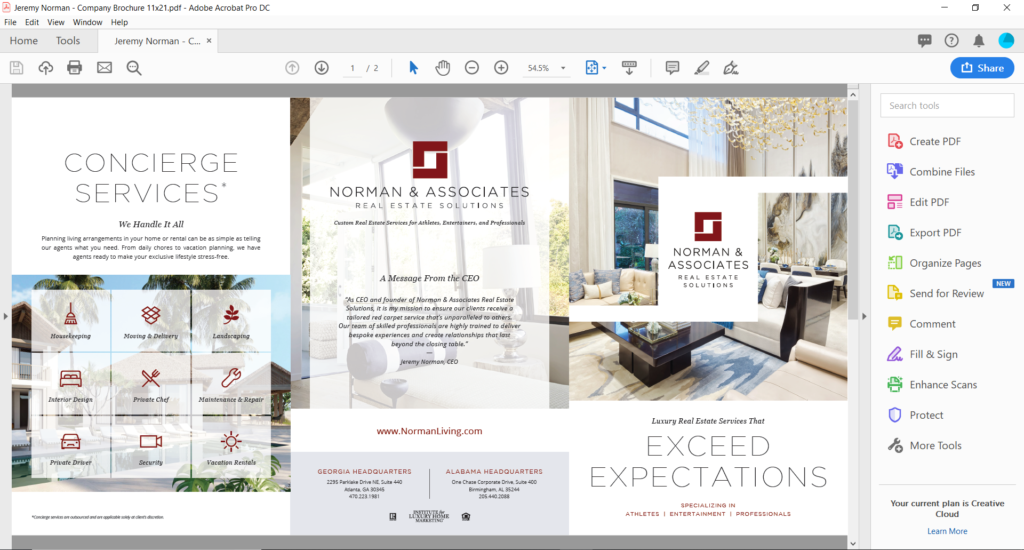
- The first step is to download the PDF template from the website. I will be using the Company brochure as an example.
- Once the file is saved, please open with your PDF editor. These instructions will reference Adobe Acrobat DC running on Windows 10. The methodology should be very similar in comparable editing programs.
- Text can be replaced as needed. Simply highlight the text that you want to replace and either type or paste the new content.

- The document will be scanned and images and copy will now be displayed in bounding boxes.

- This is a good time to re-save the file. It is recommended to save with a unique name so the original template is kept as reference or for later use as a new project.
- Clicking inside any of these bounding boxes will allow you to highlight and replace the current copy with the formatting. Formatting may be lost if the entire text section is deleted. Font substitutions may occur if the font is not installed on the machine. A yellow exclamation icon will notify you when editing any bounding box with a missing font.

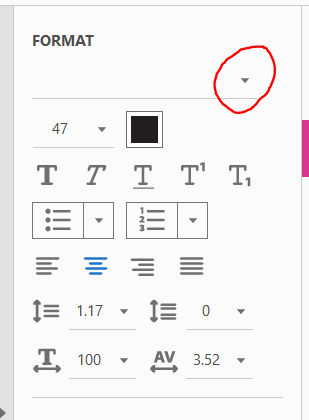
- Fonts can changed by highlighting the text sections you would like to update. Most of the large headline sections will be Gotham Light. The font size should be adjusted to accommodate the newly added content.
- The left sidebar should display a Format menu. The top section controls the fonts. You can scroll and select the desired font from the drop-down menu (circled below in red). The font size is displayed below as 47. Other adjustments can be made such as bold, italic, underline, super and sub script modifications.
- Images (photos and icons) can be changed by using the image-replace function.
- Right click an image that you would like to replace. Click the replace function in the menu.
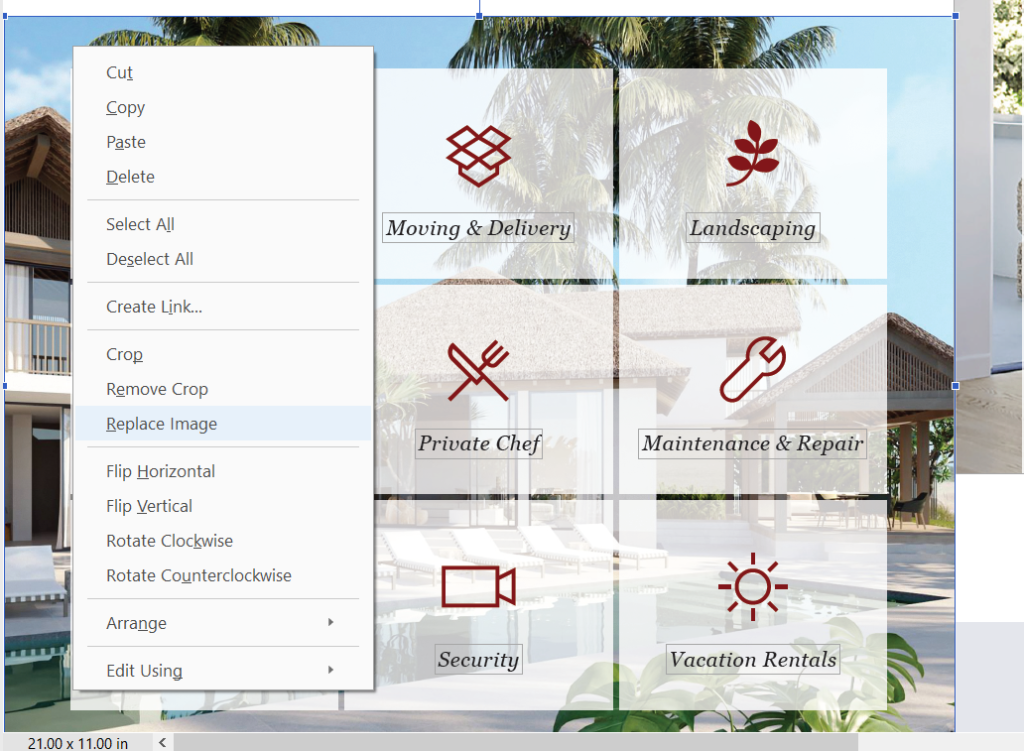
- The file browser will pop up, navigate to the desired image and click Open.
- Acrobat will begin to process the image and insert it into the same bounding box or area as the original image
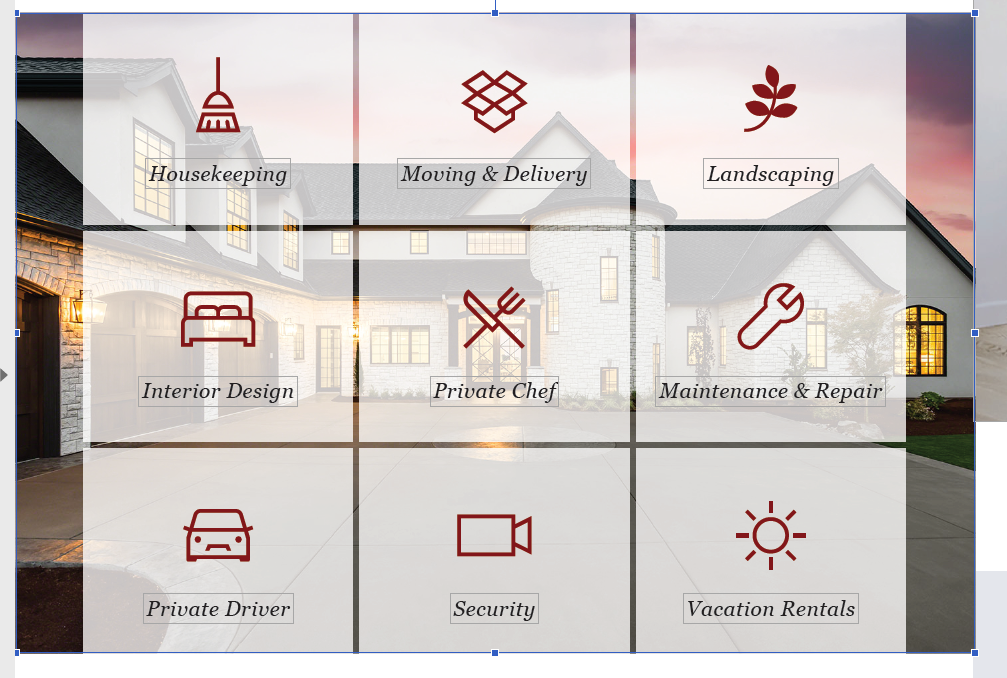
- If the image needs to be adjusted moved, you can use the blue handles to adjust as needed. The cursor will turn to a double arrow when right over the blue block handles which allow the image to be enlarged or stretched.

- It is highly recommended to save after making any adjustment. This will help avoid losing any work if the program freezes or if an adjustment does not come out as planned.
- Spell checking is available within Acrobat by using shortcut F7.
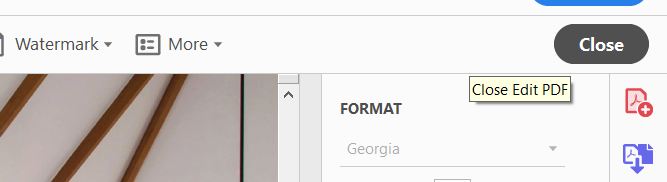
- Once all editing is complete, click the Close button in the upper right corner. This will hide all the editing tools.
- Your file is now ready for print. Please contact us should you need further modifications beyond what is available within these templates.